

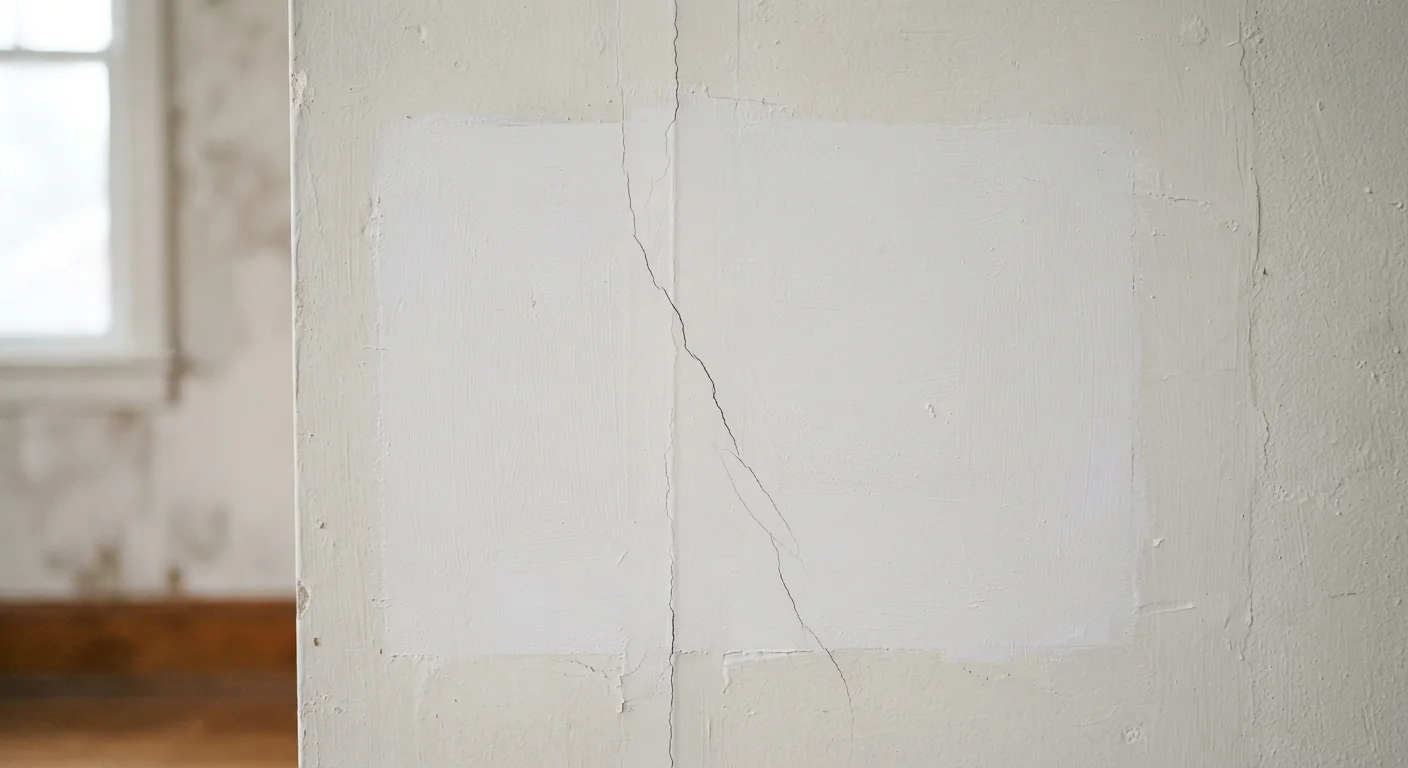
What Recurring Cracks Are Really Telling You
Patching a wall crack only to watch it reappear a few weeks later is one of the most frustrating experiences in home maintenance. The temptation is to blame the patch itself — the compound, the tape, the paint. But in most cases, the patch isn't the problem. The underlying cause was never addressed.
Wall cracks follow recognizable patterns, and those patterns carry meaning. Hairline cracks that run vertically are often the result of normal settling or seasonal expansion and contraction of drywall and joint compound. Diagonal cracks spreading from window or door corners typically point to differential settling — one part of the structure moving more than another. Horizontal cracks, especially on basement or foundation walls, are more serious and can indicate lateral pressure from soil or water intrusion.
Before reaching for the spackle, take a few minutes to document the crack: photograph it, note its location, measure its width, and check whether it has changed over several weeks. A crack that grows or shifts is a moving crack — and moving cracks demand investigation, not just patching.
Moving Cracks Require Inspection First
If a crack has changed in size, width, or direction since you last observed it, do not simply patch it — a growing crack indicates ongoing movement. Patching an active crack will almost always fail within weeks. Have a licensed contractor or structural engineer evaluate the cause before any repair work begins.
The Most Common Patching Mistakes — and How to Fix Them
Understanding why patches fail is the fastest way to make your next repair stick. Below are the mistakes homeowners make most often, along with the fixes that actually last.
Skipping surface preparation before applying patching compound.
Why it happens: Homeowners often want a quick fix and apply compound directly over dusty, loose, or painted surfaces without cleaning or sanding first.
Using the wrong type of patching compound for the crack size or location.
Why it happens: All-purpose joint compound is the most widely available product, but it shrinks significantly as it dries — making it a poor choice for filling cracks wider than a hairline.
Applying a single thick coat of compound instead of multiple thin coats.
Why it happens: A thick application looks like it fills the crack completely, and it's faster. But thick coats trap moisture inside, dry unevenly, and are far more likely to crack as they cure.
Ignoring the moisture or movement problem causing the crack in the first place.
Why it happens: The crack is visible; the root cause often isn't. Homeowners naturally address what they can see, without investigating whether humidity, a slow leak, or foundation settling is the real driver.
Failing to embed joint tape over cracks in drywall seams or larger openings.
Why it happens: Many DIYers skip tape because compound alone looks like it fills the gap, and tape adds a step that feels unnecessary.
One additional factor many homeowners overlook is paint. Applying flat or low-sheen paint directly over a patch without a dedicated primer coat can cause the patch to absorb moisture unevenly, leading to a visible halo — and eventually, a weak bond that cracks again with the next humidity swing. Always prime bare compound before painting.
Don't Skip the Primer Step
Applying paint directly over bare joint compound — even after the compound feels fully dry — is a common shortcut that leads to poor adhesion and visible lap marks. Bare compound is highly porous and will absorb paint unevenly. Use a drywall primer or PVA primer sealer over the patched area and let it dry completely before applying your finish coat of paint.
When to Call a Professional
Most hairline and small surface cracks are cosmetic and well within DIY territory once you understand proper technique. However, certain crack patterns suggest structural or moisture issues that go beyond what patching compound can solve.
Consult a licensed contractor or structural engineer if you observe any of the following: horizontal cracks in basement or foundation walls, stair-step cracks running diagonally through brick or concrete block, cracks wider than approximately ¼ inch, cracks accompanied by doors or windows that have suddenly become difficult to open or close, or any crack that measurably widens over a few weeks.
Permits, inspections, and licensed trades may be required depending on the scope of any structural repair. Always verify local building code requirements before beginning significant repair work. A professional assessment is a worthwhile investment — it identifies whether the issue is cosmetic or one that, left unaddressed, could worsen over time.
90%
Of wall cracks are non-structural
According to general guidance from the American Society of Home Inspectors, the vast majority of interior wall cracks are cosmetic and related to settling or moisture fluctuation rather than structural failure.
¼ inch
Crack width that warrants professional evaluation
Many building professionals use a crack width of approximately ¼ inch as a common threshold beyond which a licensed contractor or structural engineer should assess the cause.
The content on this site is for informational purposes only and is not a substitute for professional advice. Always consult a qualified professional for guidance specific to your situation.