

Why Reading Your Statement Matters
A bank statement is more than a record of past transactions — it's one of the clearest pictures you can get of how money actually moves in and out of your life. Yet many people glance at the total and move on, which means errors, unauthorized charges, and recurring fees can go unnoticed for months.
Understanding your statement also connects to a broader picture of your financial health. If you're trying to understand debt or credit, your statement provides real evidence of your spending patterns and how fees accumulate. For a broader look at how banking products fit together, see our plain-language guide to banking and credit.
The format of bank statements is fairly standardized across institutions, so once you know what to look for, you can read any statement with confidence. The steps below walk through each section in order.
What you will need
What You'll Need Before You Start
Pull up your most recent statement before working through the steps below. Most banks let you download PDF statements through their online portal, or you can use a paper copy. Having the actual document in front of you — rather than just a summary screen — makes it much easier to see all the detail.
Your Bank Statement (paper or digital)
The primary document you will be reading and analyzing.
Pen and highlighter
Mark unfamiliar charges or transactions for follow-up.
Personal spending log or budgeting app
Cross-reference your own records against what the bank shows.
Your bank's transaction code glossary
Decode abbreviations that appear in the transaction description column.
Step-by-Step: How to Read Your Statement
Follow these steps in order the first time. Once you've done it once, future reviews will be much faster — most people can scan a familiar statement in five minutes.
Find and confirm the statement header
The top of every bank statement contains basic identifying information. Verify that the account holder name, account number (often partially masked, such as ****4321), and statement period (start and end dates) are correct. Also note the bank's contact information — you'll want it if you need to report an issue.
Read the opening balance
The opening balance (sometimes called the beginning balance) is the amount in your account at the start of the statement period. It should exactly match the closing balance from your previous month's statement. If it doesn't match, contact your bank — discrepancies at this stage can signal a processing error.
Review the transaction section line by line
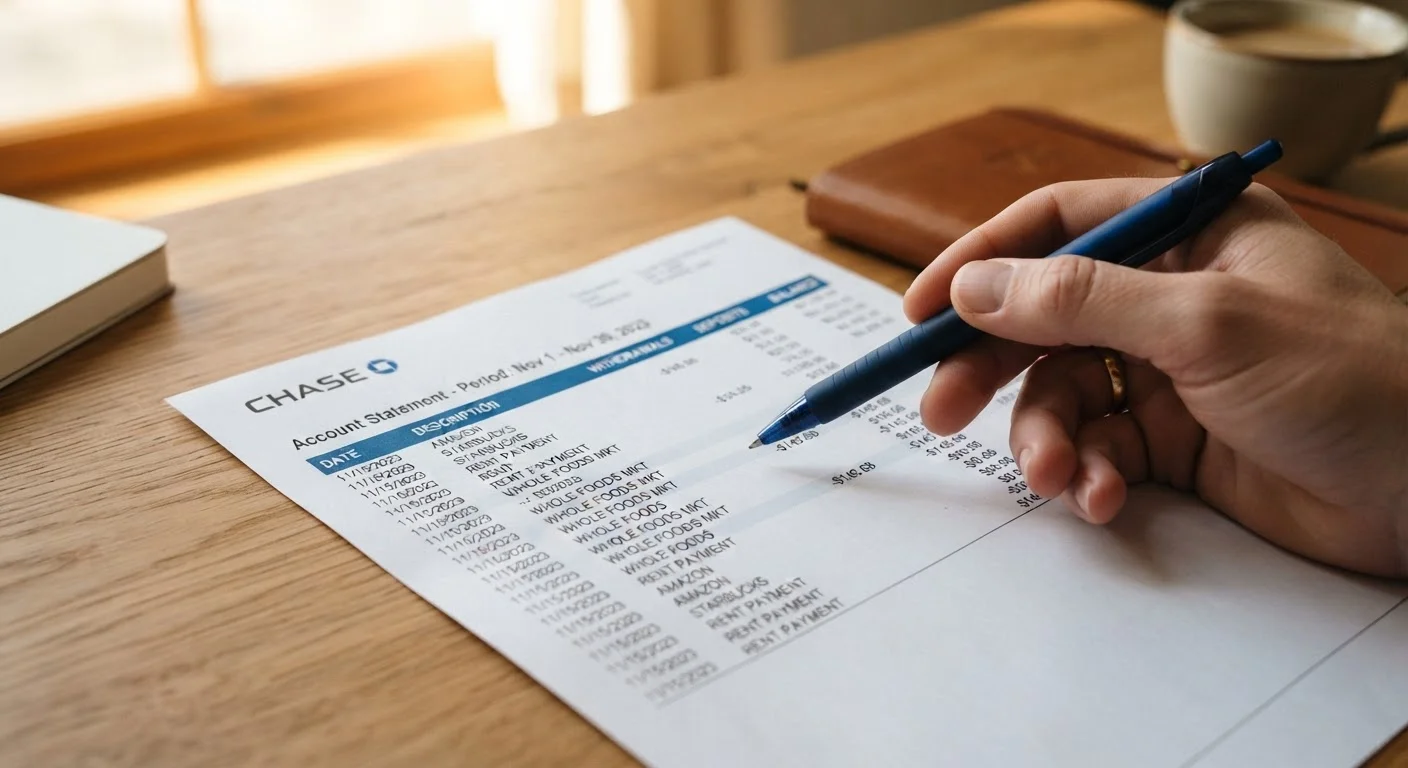
This is the core of your statement. Each row typically shows:
- Date — when the transaction posted (not always the same as when you made it)
- Description — a short label identifying the merchant, transfer, or fee
- Amount — how much was debited (withdrawn) or credited (deposited)
- Running balance — your account balance after each transaction
Work through each line and ask: do I recognize this transaction? Does the amount match my own records?
Decode transaction descriptions and codes
Bank descriptions are often truncated or abbreviated. Common patterns include:
- ACH — Automated Clearing House transfer (direct deposits, bill pay, payroll)
- POS — Point of Sale (a debit card purchase at a store or online)
- ATM — cash withdrawal from an ATM
- NSF — Non-Sufficient Funds fee (charged when a transaction exceeds your balance)
- INT or INTEREST — interest earned (common on savings accounts)
If a code or merchant name is unrecognizable, search the exact description online or check your bank's transaction glossary. Many unfamiliar entries are legitimate but oddly labeled — for example, a streaming service may appear under a parent company name.
Identify any fees
Banks may charge monthly maintenance fees, overdraft fees, ATM fees, or minimum balance fees. These appear as debits in the transaction section or may be grouped in a separate fees summary block, depending on your bank's statement format. Note each fee, confirm you understand why it was charged, and consider whether it's avoidable — for example, some maintenance fees are waived when you meet a minimum balance threshold.
Verify the closing balance
The closing balance appears at the end of the transaction list and represents your account balance on the last day of the statement period. To verify it yourself: take the opening balance, add all credits, and subtract all debits. The result should equal the closing balance. If it doesn't, recheck for missed transactions or contact your bank. This closing balance becomes next month's opening balance — so getting it right matters.
Report Errors or Fraud Promptly
Under federal law (the Electronic Fund Transfer Act), your liability for unauthorized electronic transactions is limited — but only if you report them quickly. Most banks require you to report errors within 60 days of the statement date. Waiting longer can reduce your legal protections significantly. If something looks wrong, contact your bank as soon as possible.
Common Pitfalls and How to Avoid Them
Don't Confuse Available Balance With Closing Balance
Your available balance reflects pending transactions and holds that haven't yet cleared. It may differ from your actual closing balance shown on a statement. Spending down to your available balance without checking for pending items can result in overdraft fees.
Beyond balance confusion, a few other common issues trip readers up:
- Pending vs. posted transactions: Transactions may appear as pending in your banking app but not yet show up on your official monthly statement. The statement only reflects fully posted items.
- Recurring subscriptions: Small recurring charges (streaming services, cloud storage, app subscriptions) are easy to overlook because they're familiar — but they're also easy to forget after you've stopped using a service.
- Deposits with holds: When you deposit a check, the bank may place a hold on part of the funds. The deposited amount will appear in your statement, but your available balance may be lower until the hold lifts.
Keep a Simple Reconciliation Habit
Each month, compare your statement's closing balance against your own spending records or your banking app's transaction history. Even a quick five-minute scan can surface duplicate charges, forgotten subscriptions, or small fees that add up over time.
If you're also working to understand how debt and spending relate, our overview of personal debt types and terminology pairs well with the habit of reading your statements carefully. You can also explore more resources in the Saving & Debt hub.
This article is for general informational and educational purposes only and does not constitute personalized financial or legal advice. For questions about your specific account, contact your bank or a qualified financial professional.
The content on this site is for informational purposes only and is not a substitute for professional advice. Always consult a qualified professional for guidance specific to your situation.