

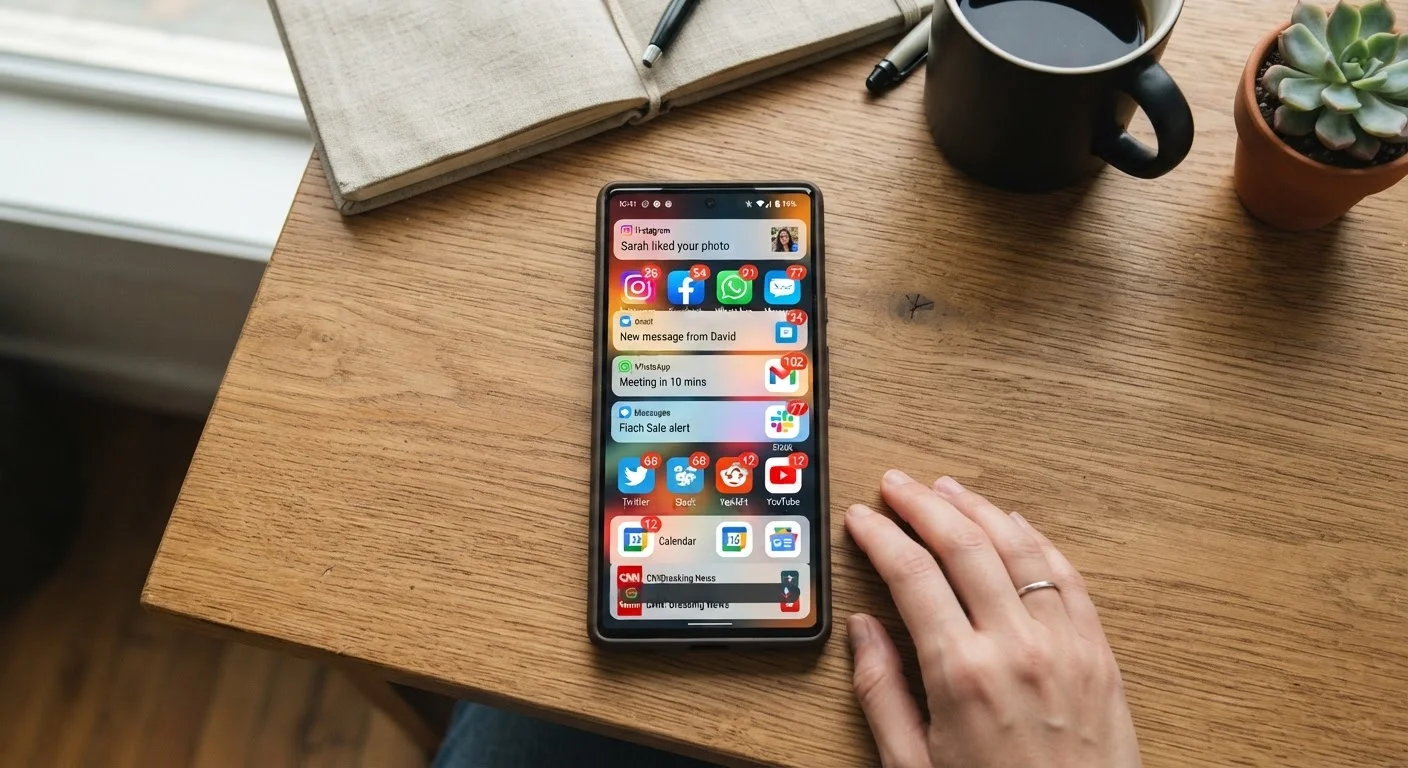
Why Apps Ask So Persistently
Notification prompts aren't accidental. When an app can send you alerts, it has a direct line to your attention - and attention translates to usage, which translates to ad revenue or in-app purchases. That's why many apps are engineered to prompt you early, prompt you often, and frame the request as something you'd be missing out on if you declined.
The system works in the app's favor by default. Both iPhone and Android require apps to ask permission before sending notifications, but the moment you tap Allow, that permission stays in place indefinitely unless you revoke it. Most people never do - not because they're happy with the alerts, but because they don't realize how easy it is to change.
Understanding this framing makes the solution obvious: notifications should be a privilege you grant selectively, not a default you accept and endure. For related context on how apps collect permissions more broadly, see our guide to what app permissions actually mean.
Use Scheduled Summary on iPhone
iOS offers a feature called Notification Summary that bundles non-urgent app alerts and delivers them at a time you choose - such as morning and evening. This lets you stay informed without interruptions throughout the day. Find it under Settings > Notifications > Scheduled Summary.
What You Can Control - and How to Do It
The good news is that both major mobile platforms give you precise control over notifications. You don't have to choose between constant interruptions and total silence. Here's what you'll need before getting started:
What you will need
Below are the tools that can help depending on your device:
Your phone's Settings app
Used to view and change notification permissions for every installed app.
iOS Notification Summary (iPhone only)
Bundles non-urgent notifications and delivers them on a schedule you set.
Android Notification Channels
Allows you to enable or disable specific alert categories within a single app.
Follow the steps below to audit and adjust your notification settings in one sitting. The process takes most people under 20 minutes.
Open your phone's notification settings
On iPhone: Go to Settings > Notifications. You'll see a list of every app that has ever requested notification access.
On Android: Go to Settings > Apps (sometimes labeled Apps & notifications depending on your manufacturer) > tap an app > Notifications.
Identify which apps have full notification access
Scan your list for apps you rarely open or whose alerts you consistently ignore. Common culprits include shopping apps, games, and social platforms. Note which ones are set to show alerts on your lock screen, play sounds, or display badges - these are the most intrusive settings.
Revoke or limit permissions for intrusive apps
On iPhone: Tap any app in the Notifications list, then toggle Allow Notifications off entirely - or keep it on but uncheck Lock Screen, Banners, or Sounds individually. This gives you granular control without a full block.
On Android: Inside an app's notification settings, you'll often see individual notification channels - for example, a shopping app might have separate channels for Order Updates and Promotions. You can disable Promotions while keeping Order Updates active.
Decline future notification requests proactively
When you install a new app and it asks to send notifications, you are not required to tap Allow. Ask yourself: does this app have a genuine, time-sensitive reason to reach me? Banking alerts and package tracking usually do. A recipe app or casual game almost certainly doesn't. Tap Don't Allow (iPhone) or Deny (Android) and move on.
Do a monthly five-minute notification audit
Notification habits drift. Apps you once found useful become noisy over time, and newly installed apps pile on. Set a recurring reminder to open your notification settings once a month and remove access from any app that no longer earns it. Treat permission as something apps must continue to deserve, not something granted permanently at install.
Don't Confuse 'Do Not Disturb' with Permission Control
Do Not Disturb mode silences alerts temporarily but does not change the underlying notification permissions granted to each app. When Do Not Disturb ends, all previous notifications resume exactly as before. To make lasting changes, you need to adjust permissions directly in Settings - not just enable a quiet mode.
If you use wellness or productivity apps and wonder whether their notifications are actually helping you, our balanced look at digital mental health app trade-offs is worth a read. And if you want to go further, the smartphone privacy settings checklist covers notification control alongside location access, ad tracking, and more.
Turning Off Notifications Is Always Reversible
Many people hesitate to block notifications because they worry about missing something important. Rest assured: disabling notifications does not delete your data, cancel your account, or change any app settings. You can re-enable them any time through your phone's Settings app. The only thing that changes is where and how the app gets your attention.
The content on this site is for informational purposes only and is not a substitute for professional advice. Always consult a qualified professional for guidance specific to your situation.