

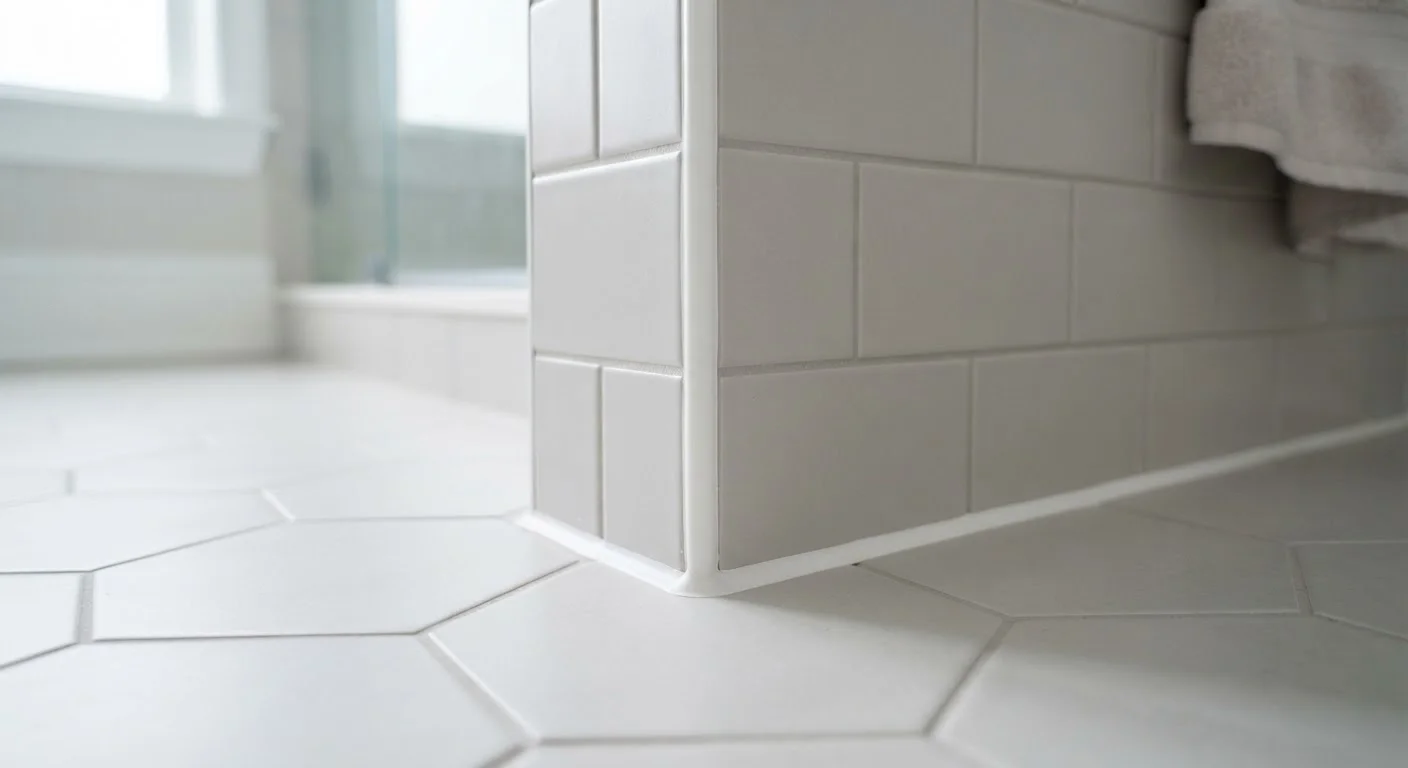
Option A
Grout
The rigid, cement-based joint filler for tile fields.
Best for: Filling the joints between tiles on flat, stable surfaces like floors, walls, and backsplashes where no movement occurs.
Option B
Caulk
The flexible sealant built for movement and moisture-prone transitions.
Best for: Sealing corners, changes in plane, and transitions between tile and fixtures where surfaces shift or flex over time.
What Each Material Is Made to Do
Grout and caulk look similar when you're standing in the tile aisle, but they are engineered for completely different jobs. Confusing the two is one of the most common causes of premature cracking and water infiltration in tiled areas.
Grout is a cement-based (or epoxy-based) filler that hardens completely rigid. It bonds tile to tile, resists light foot traffic and abrasion, and is designed for joints that won't shift. Because it's rigid, any movement — even the subtle seasonal expansion of a house — will crack it.
Caulk is a flexible polymer sealant, typically silicone or siliconized latex. It stays pliable after curing, which allows it to stretch and compress as surfaces move. That flexibility is also what makes it the right choice wherever two different materials meet, or wherever a surface transitions from horizontal to vertical.
Think of it this way: grout locks tiles together across a stable plane; caulk bridges the gaps between things that move independently of each other.
| Criterion | Grout | Caulk |
|---|---|---|
| Composition | Cement or epoxy; rigid when cured | Silicone or latex polymer; stays flexible |
| Primary use | Field joints between tiles on stable surfaces | Corners, transitions, and movement joints |
| Flexibility | None — cracks under movement | High — stretches and compresses |
| Water resistance | Good when sealed; porous if unsealed | Excellent; seals watertight immediately |
| Typical joint width | 1/16 in. to 3/8 in. | Varies; fills gaps and transitions of any width |
| Cure time | 24–72 hours before water exposure | 24–48 hours for full cure |
| Lifespan | Many years on stable surfaces | 5–10 years; may need periodic replacement |
Where Each One Belongs — and Where It Doesn't
Use grout: in all field joints — the uniform spaces between tiles across a wall, floor, countertop, or backsplash. These joints are typically 1/16 inch to 3/8 inch wide depending on the tile and layout. Sanded grout is used for joints wider than 1/8 inch; unsanded grout for narrower joints. Epoxy grout is a more durable, stain-resistant option for heavily used areas.
Use caulk: anywhere you'd find a change in plane or material. Classic locations include:
- Inside corners of tiled showers and tub surrounds
- The joint where a tub or shower pan meets the wall tile
- Transitions between tile and wood, drywall, or stone
- Around the perimeter of a toilet base
- Along the back edge of a countertop where it meets a backsplash
A common mistake is grouting the inside corner of a shower and wondering why it cracks every season. That corner is a movement joint — the two walls are separate structures. Grout has no give, so it fractures. Learn why rigid filler keeps cracking in our related guide on persistent wall cracks, which applies the same principle to patched surfaces.
When Grout and Caulk Meet in the Same Joint
In a properly tiled shower, you'll have grout in the field and caulk in every inside corner and at the tub or pan line — and that's correct. Some tile setters place a small foam backer rod (a compressible foam rope) into deep movement joints before caulking to support the bead and prevent it from thinning too much. If you're unsure whether a joint is a movement joint or a field joint, a simple rule applies: if the joint is on a flat plane between two tiles, grout it; if it's where any two surfaces meet at an angle or material change, caulk it.
Applying Each Material Correctly
Both materials demand a clean, dry, dust-free surface. Any old caulk or grout must be fully removed before reapplication — new material won't bond to a compromised surface.
Grouting
- Mix grout to a peanut-butter consistency and work it into joints diagonally with a rubber float.
- Remove excess with the float edge, then let it set for 15–30 minutes.
- Wipe the surface with a damp sponge in circular motions, rinsing frequently.
- Buff the haze with a dry cloth once the grout has firmed up.
- Seal porous grout lines once fully cured (typically 72 hours) to resist staining.
Caulking
- Tape both sides of the joint with painter's tape for a clean line.
- Cut the caulk tube nozzle at a 45-degree angle; aim for a bead that fills the joint in one pass.
- Smooth the bead immediately with a wet fingertip or a caulk tool.
- Remove the tape before the caulk skins over.
- Allow full cure time — typically 24 hours for latex, 24–48 hours for silicone — before exposing to water.
90%
Of shower leaks tied to failed sealant joints
Industry tile installation guidance consistently identifies corner and transition joints — not tile fields — as the most common source of water infiltration in tiled showers and tub surrounds.
5–10 years
Typical caulk service life in wet areas
Caulk in high-moisture environments such as showers generally requires inspection and possible replacement every five to ten years, depending on product type and exposure.
Color-matched caulks are widely available, making it easy to transition from grout to caulk without a noticeable color break — a detail that keeps the finished surface looking intentional and professional.
The content on this site is for informational purposes only and is not a substitute for professional advice. Always consult a qualified professional for guidance specific to your situation.