

Why Weatherstripping Fails — and Why It Matters
Weatherstripping degrades gradually, so most homeowners don't notice until a draft becomes obvious or an energy bill climbs unexpectedly. Foam compresses and loses its memory, adhesives dry out and peel, and rubber seals harden and crack — especially after repeated seasonal temperature swings common in much of the United States.
Gaps as narrow as 1/8 inch around a door perimeter can add up to the equivalent of a small hole in your wall. That translates to heated or cooled air escaping continuously, HVAC systems working harder, and increased wear on mechanical equipment. Weatherstripping is one of the most cost-effective maintenance tasks available to homeowners precisely because the materials are inexpensive and the sealing payoff is immediate.
Checking weatherstripping is also part of a broader seasonal maintenance rhythm. If you follow a structured schedule, our seasonal home maintenance checklist includes weatherstripping as a fall priority — just before heating season begins.
Test Your Seals With a Dollar Bill
Close a door or window on a piece of paper currency. If you can pull the paper out without resistance, the seal at that point is insufficient. Work around the entire perimeter this way to pinpoint exactly where weatherstripping needs replacing or supplementing.
What You'll Need
Most weatherstripping projects require only basic tools you likely already own. Gather everything before you start so you're not stopping mid-installation to hunt for scissors or a measuring tape.
What you will need
Tape measure
Measure the perimeter of door and window frames to purchase the correct length of weatherstripping.
Utility knife or scissors
Cut weatherstripping materials cleanly to the required length.
Putty knife or stiff plastic scraper
Remove old, adhesive-backed weatherstripping from frames without gouging the surface.
Isopropyl alcohol or mild detergent
Clean the surface thoroughly so new adhesive-backed weatherstripping bonds securely.
Hammer and finishing nails
Secure V-strip or tension-seal weatherstripping where adhesive alone isn't sufficient.
Door sweep
Seal the gap at the bottom of exterior doors where standard tape weatherstripping cannot reach effectively.
For a broader look at how weatherstripping fits into your home's overall thermal envelope, see our guide to home insulation, which covers where air and heat loss commonly originate together.
Check for Lead Paint Before Scraping
Homes built before 1978 may have lead-based paint on door and window frames. Sanding or scraping these surfaces can release harmful dust. If you're unsure, purchase a lead test kit from a hardware store before removing old weatherstripping, and follow EPA-recommended safe work practices.
Step-by-Step Installation
Follow these steps in order. Skipping surface preparation or the assessment phase is the most common reason weatherstripping fails prematurely.
Locate and assess every draft point
Move a lighted stick of incense or a thin strip of tissue paper slowly around each door and window frame on a breezy day. Any flutter or smoke deviation reveals air infiltration. Note which sides of the frame are affected — top, sides (called the jambs), or bottom — because each location may call for a different weatherstripping type.
Choose the right weatherstripping material
Match the material to its location and wear level:
- V-strip (tension seal): Durable plastic or metal folded into a V-shape. Ideal for the sides of double-hung windows and door jambs. It springs open to fill gaps and handles repeated friction well.
- Foam tape: Self-adhesive closed-cell foam. Best for irregular gaps on window sashes and door stops. Low cost, but compresses over time and typically lasts two to five years.
- Door sweeps: Aluminum or stainless bar with a rubber or brush insert, screwed to the interior bottom of exterior doors. Essential for sealing the floor gap.
- Rope caulk: A removable, putty-like cord pressed into gaps — useful for sealed-shut storm windows in winter but not appropriate for operable doors.
Remove old weatherstripping and clean the surface
Peel away adhesive-backed foam or tape carefully. Use a putty knife to lift stubborn sections, working at a shallow angle to avoid gouging the frame. Residual adhesive can be softened with isopropyl alcohol or a small amount of adhesive remover, then wiped clean. For nailed-in V-strip, remove finishing nails with pliers and pull the strip free.
Once stripped, wipe the entire surface with isopropyl alcohol or mild detergent and allow it to dry fully — at least 15 minutes — before applying anything new. Adhesive bonds poorly to dusty, oily, or damp surfaces.
Measure and cut the weatherstripping
Measure each side of the door or window frame individually — frames are often not perfectly square, so the top may differ slightly from the bottom. Add about 5% extra length when cutting foam tape or V-strip to ensure full corner coverage. For door sweeps, measure the door width exactly and cut to match using a hacksaw or tin snips if metal cutting is required.
For corner joints on V-strip, cut the end of each piece at a 45-degree angle so pieces meet cleanly without leaving a gap.
Install the weatherstripping
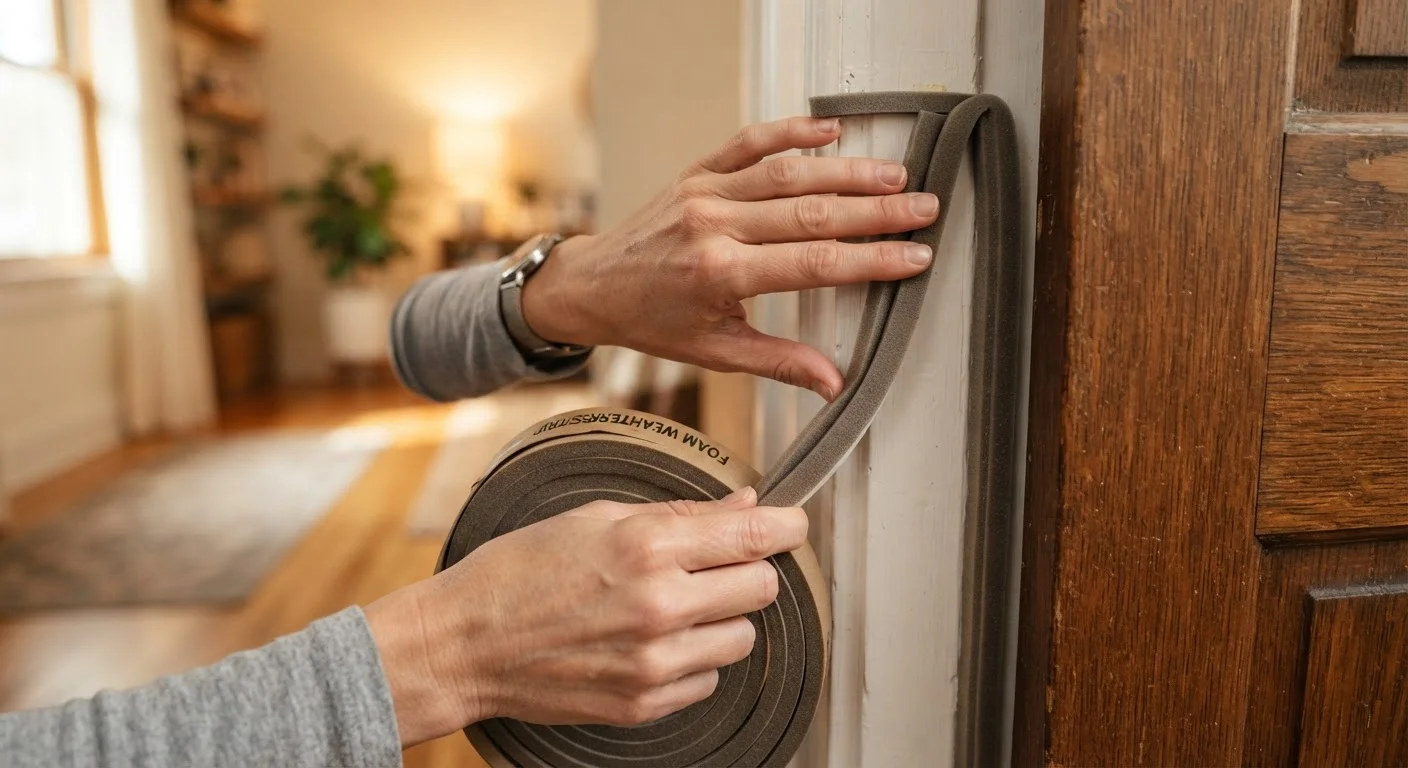
Foam tape: Starting at one corner, peel back a few inches of backing and press firmly against the door stop or frame, working your way around without stretching the foam. Stretched foam retracts over time and creates gaps.
V-strip: Open the V slightly with your fingers, then slide it into the channel on the window sash or tack it to the door jamb with finishing nails every 2 inches. The open end of the V should face outward toward the exterior.
Door sweep: Hold the sweep against the closed door so the rubber just contacts the threshold without dragging. Mark the screw holes, drill pilot holes, and fasten the sweep with the provided screws.
Test and make adjustments
Close the door or window and repeat your original draft test — incense, tissue paper, or the dollar-bill method. Pay particular attention to corners and the junction where two weatherstripping pieces meet. If you still detect airflow, press the existing strip more firmly onto the surface, or layer a thin bead of foam tape at persistent gaps. Allow adhesive-backed materials at least one hour to cure before heavy use.
Don't Skip the Gap Measurement Step
Installing weatherstripping that's too thick can prevent a door from closing or latching properly, putting stress on hinges and the door frame over time. Always measure the gap width before purchasing materials, and confirm the door or window operates normally after installation.
The content on this site is for informational purposes only and is not a substitute for professional advice. Always consult a qualified professional for guidance specific to your situation.