

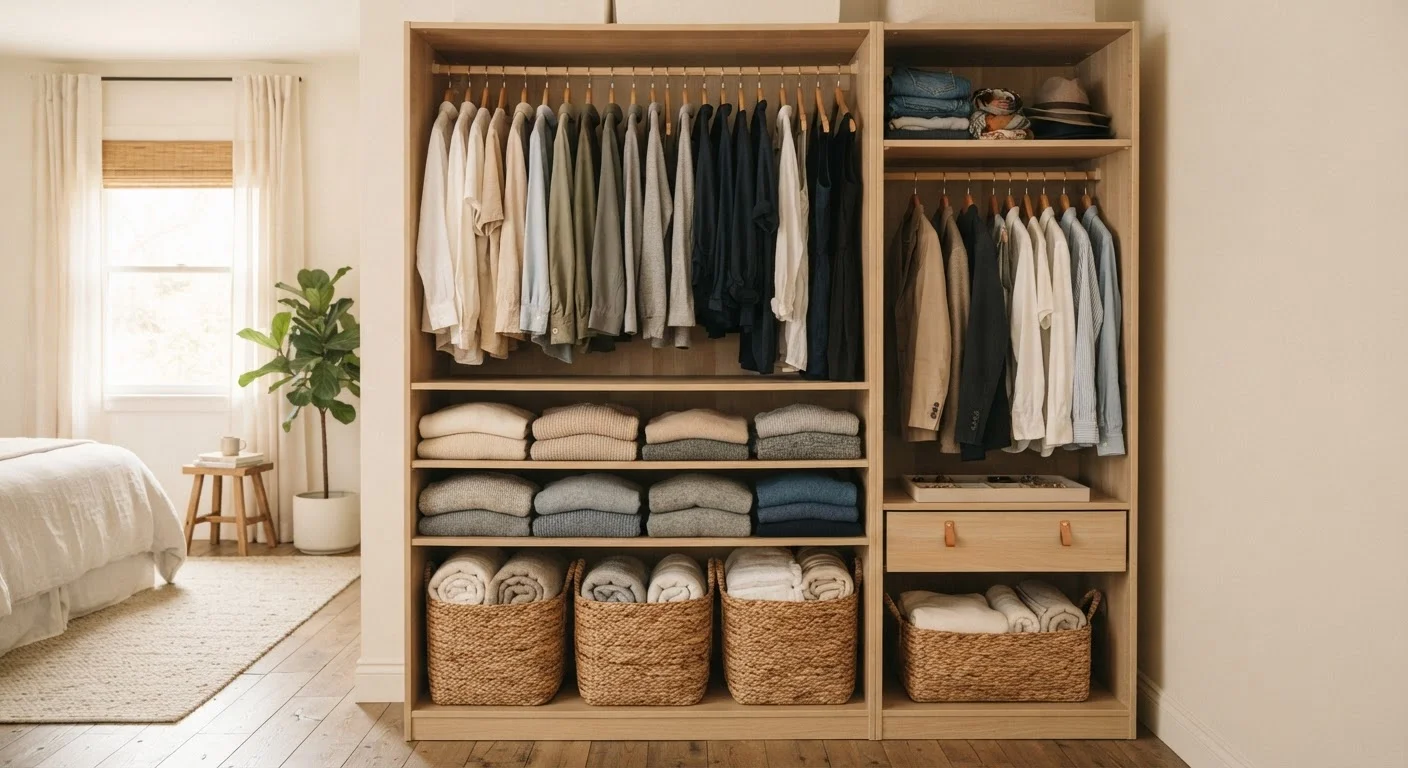
Why Most Closet Organizers Don't Last
Most people tackle a disorganized closet by buying storage products first — extra hangers, fabric bins, drawer dividers — and then trying to organize around them. The result is a tidier-looking version of the same underlying problem: too many items with no logical system behind them. Within weeks, the closet reverts.
Effective wardrobe organization starts with reduction, not addition. Before a single bin or divider is introduced, the contents of the closet need to be edited down to only what's genuinely worn and useful. Everything else crowds out the items that matter and makes the space feel perpetually overwhelming.
This process is closely related to broader home organization principles. If you're working through multiple rooms, the complete home organization guide covers strategies that apply across every space. For kitchens specifically, kitchen organization strategies follow a similar logic — clear before you contain.
What you will need
Tools and What You Actually Need
You likely need fewer products than you think. The most important tools for this process are basic: sorting containers, a clean surface, and time. Additional products like uniform hangers or shelf dividers can help, but they should only be introduced after you've completed the sort and know exactly what space you're working with.
Three sorting containers (bags or boxes)
Hold items as you sort them into Keep, Donate/Sell, and Discard piles.
Slim, uniform hangers
Replacing bulky mismatched hangers saves significant rod space and makes visual scanning easier.
Shelf dividers
Keep folded stacks from toppling and help maintain defined zones on open shelves.
Labeling tape and marker
Label shelf zones, bins, or drawers so everyone using the space knows where items belong.
Avoid Buying Storage Bins Too Early
Purchasing organizers before you know what you're keeping is one of the most common and costly mistakes in home organization. Wait until after the sort step to assess what containers — if any — you actually need. Many closets function well with no additional products at all.
Step-by-Step: Sorting, Storing, and Zoning Your Wardrobe
Follow these steps in order. Skipping ahead — particularly past the empty-out and sorting stages — is the most common reason a reorganization effort doesn't hold.
Don't Skip the Empty-Out Step
Organizing clothes while they remain in the closet almost always produces a partial result. Fully emptying the space lets you see every item, wipe down shelves, and make deliberate decisions about what earns its place back. Skipping this step is the single most common reason a reorganization effort fails to stick.
Empty the entire closet
Remove everything — clothing, shoes, accessories, and any items stored on the floor or high shelves. Place it all on your bed or another clear surface. While the closet is empty, wipe down shelves, vacuum the floor, and check for any moisture or damage that might affect stored items.
Sort every item into three categories
Pick up each item individually and place it in one of three containers: Keep, Donate/Sell, or Discard. Ask two practical questions for each piece: Does it fit right now? Have I worn it in the past year? If the answer to both is no, it leaves the closet. Avoid a 'maybe' pile — it almost always becomes a default Keep pile over time.
Group what you're keeping by category
Before anything goes back into the closet, group your Keep items into logical categories: everyday tops, work clothes, casual bottoms, outerwear, formal wear, workout gear, shoes, and accessories. This grouping step reveals how much of each category you actually own — and often surfaces duplicate items worth reconsidering.
Assign zones inside the closet
Divide your closet into dedicated zones based on use frequency. Items worn most often should live at eye level and within easy reach. Seasonal or occasion-specific pieces go on higher shelves or toward the back. Shoes work best on the floor or a low shelf. Use the zone method — grouping like items together in a fixed location — so you always know where to look and where to return things. For a plain-language explanation of terms like 'zone method,' see our Home Organization Glossary.
Fold and store non-hanging items efficiently
T-shirts, jeans, and knitwear generally do well folded on shelves or in drawers. Vertical folding — standing items upright like files rather than stacking them flat — lets you see every item at a glance without disturbing the pile. Delicate knits like wool sweaters should be folded rather than hung to prevent stretching at the shoulders.
Return items to their zones and label if needed
Place everything back according to your zone plan. If you share the closet with someone else or if you have sections used infrequently, consider labeling shelf edges or bins with simple tape-and-marker labels. Labels remove ambiguity and make maintaining the system far easier for everyone using the space.
Set a simple maintenance routine
A well-organized closet only stays that way with small, consistent habits. Return items to their designated zone after each wear. Do a quick five-minute reset weekly. Schedule a seasonal review — swapping out cold- and warm-weather items and removing anything that no longer fits or serves you. Our Seasonal Declutter Audit checklist can guide that process room by room.
Use the Hanger Trick for Active Wear
Hang all your clothes with the hanger hook facing outward at the start of the season. After wearing and returning a garment, flip its hanger to face inward. After three to four months, anything still facing outward is a candidate for removal. It removes guesswork completely.
Keeping It Functional Over Time
The steps above establish a system, but the system only holds if the habits behind it are consistent. The two most common reasons organized closets slide back into chaos are: items not being returned to their zones after use, and new items accumulating without older ones leaving. Both are behavioral patterns, not storage problems.
If you find your efforts unraveling after a few months, it's worth understanding the underlying causes. Our article on why decluttering efforts keep unravelling identifies the subtle habits and system gaps that cause organized spaces to revert — and what to do differently. Building a seasonal review into your routine is also one of the most effective long-term strategies; the Seasonal Declutter Audit provides a structured checklist to make that review straightforward.
A functional closet doesn't require perfection — it requires a clear enough system that putting things back where they belong is the path of least resistance. That's the standard worth aiming for.
The content on this site is for informational purposes only and is not a substitute for professional advice. Always consult a qualified professional for guidance specific to your situation.