

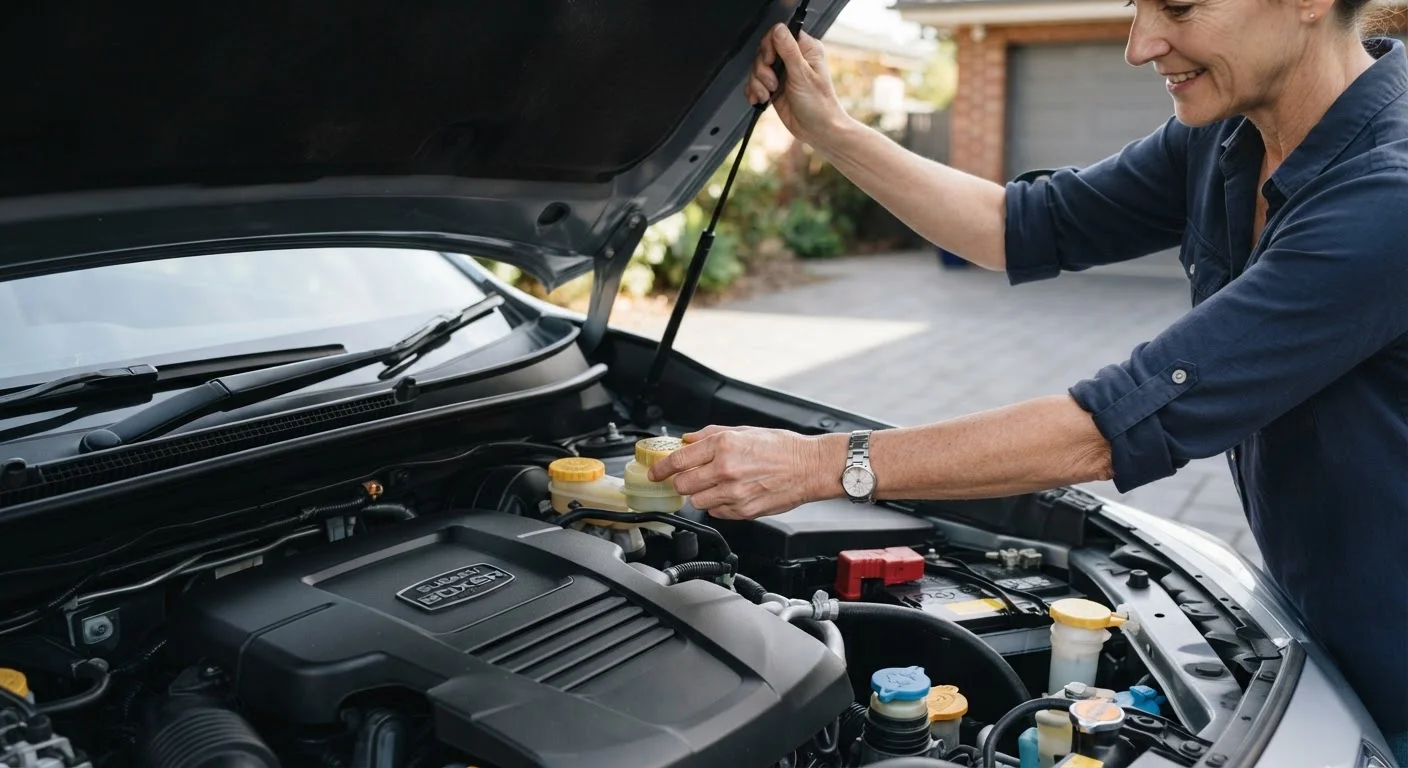
Why Fluid Checks Belong in Your Routine
Modern vehicles depend on a network of fluids to lubricate moving parts, transfer heat, enable braking, and assist steering. Neglecting them is one of the most common - and preventable - causes of expensive repairs. The good news is that checking and topping up these fluids requires no mechanical training, no special tools, and usually takes under 20 minutes.
This guide covers the six fluids every driver should monitor: engine oil, coolant, brake fluid, power steering fluid, transmission fluid, and windshield washer fluid. Before you start, two ground rules apply to all of them: work only when the engine is fully cold (or as specified below), and park on a flat, level surface so fluid levels read accurately.
If a warning light is already illuminated on your dashboard, check that fluid first - our guide to dashboard warning symbols can help you identify which system is flagging a problem. For a broader view of what belongs in home maintenance versus what needs a shop, see DIY car maintenance vs. taking it to a mechanic.
What you will need
Step-by-Step: Checking Each Fluid
Work through the fluids in the order below. Your owner's manual will show the exact reservoir locations for your specific make and model - reservoir positions and dipstick designs vary, so keep it handy.
Check Engine Oil
With the engine off and cold, locate the oil dipstick - typically a brightly colored ring or handle near the center of the engine. Pull it out, wipe it clean with a rag, reinsert it fully, then pull it out again. The oil level should sit between the two marks at the bottom of the dipstick. Also note the oil's color: healthy oil is amber to light brown. Black, gritty, or milky oil suggests it is overdue for a change or there may be a more serious issue.
Check Coolant (Antifreeze)
Never open the radiator cap or coolant reservoir cap on a hot engine - pressurized hot coolant can cause serious burns. Wait until the engine is fully cold. Find the translucent plastic coolant reservoir (usually marked with a thermometer or wave symbol) and check that the fluid sits between the MIN and MAX lines on the side of the tank. Coolant is typically green, orange, or pink depending on the type your vehicle uses.
Check Brake Fluid
The brake fluid reservoir is a small, translucent plastic container on top of the brake master cylinder, typically located at the rear of the engine bay on the driver's side. Without removing the cap, look at the fluid level through the reservoir wall - it should be between MIN and MAX. Brake fluid is clear to slightly yellow when fresh; a dark brown color indicates it has absorbed moisture and may need replacing by a mechanic.
Check Power Steering Fluid
Note: Many newer vehicles use electric power steering and have no fluid reservoir - check your manual first. If your car has hydraulic power steering, locate the reservoir (often labeled with a steering wheel icon). Some reservoirs have a dipstick on the cap; others are translucent with MIN/MAX markings. For dipstick types, wipe, reinsert, and read as you would for engine oil. If the level is low, add the specific fluid type listed in your owner's manual.
Check Transmission Fluid
Automatic transmission fluid (ATF) checking procedure varies more than other fluids. Some vehicles have a dipstick accessed with the engine warm and running in Park; others have a sealed transmission with no dipstick, requiring a mechanic to check. Consult your owner's manual before proceeding. If a dipstick is present, pull and wipe it, reinsert fully, then read the level. ATF should be red to pink; dark brown or burnt-smelling fluid needs professional attention.
Check Windshield Washer Fluid
This is the simplest check: locate the reservoir marked with a windshield or water spray symbol, remove the cap, and visually inspect the level. Top up with pre-mixed windshield washer fluid rated for your climate - in cold regions, use a formula with sufficient freeze protection. Do not substitute plain water, as it can freeze in the reservoir and lines and may promote bacterial growth.
Never Ignore a Persistent Fluid Drop
If any fluid consistently reads low between your checks, do not simply keep topping it up. A recurring shortfall almost always indicates a leak or internal consumption issue that requires diagnosis by a qualified mechanic. Driving with chronically low brake or coolant fluid in particular carries a real safety risk and can lead to costly component failure.
When Low Levels Mean More Than a Top-Up
Topping up a low fluid is a short-term fix, not a diagnosis. If you find yourself refilling the same fluid repeatedly within a few weeks, that points to a leak or an internal consumption issue - both of which need professional attention. Brake fluid in particular should not drop noticeably between service intervals; a significant drop can indicate worn brake pads or a hydraulic leak, either of which affects your ability to stop safely.
Fluid checks slot naturally into seasonal preparation. Our article on seasonal car maintenance outlines which checks matter most before winter and summer. While you have the hood open, it is also a good moment to visually inspect the battery terminals for corrosion - battery health and what drains it explains what to look for.
Build a Simple Monthly Habit
Set a recurring reminder to check your fluids on the first of each month. A quick visual scan of all six reservoirs takes under five minutes once you know where they are. Pairing fluid checks with your regular tyre pressure check - covered in our tyre care fundamentals guide - means you cover the most impactful routine maintenance in a single short session.
The content on this site is for informational purposes only and is not a substitute for professional advice. Always consult a qualified professional for guidance specific to your situation.