

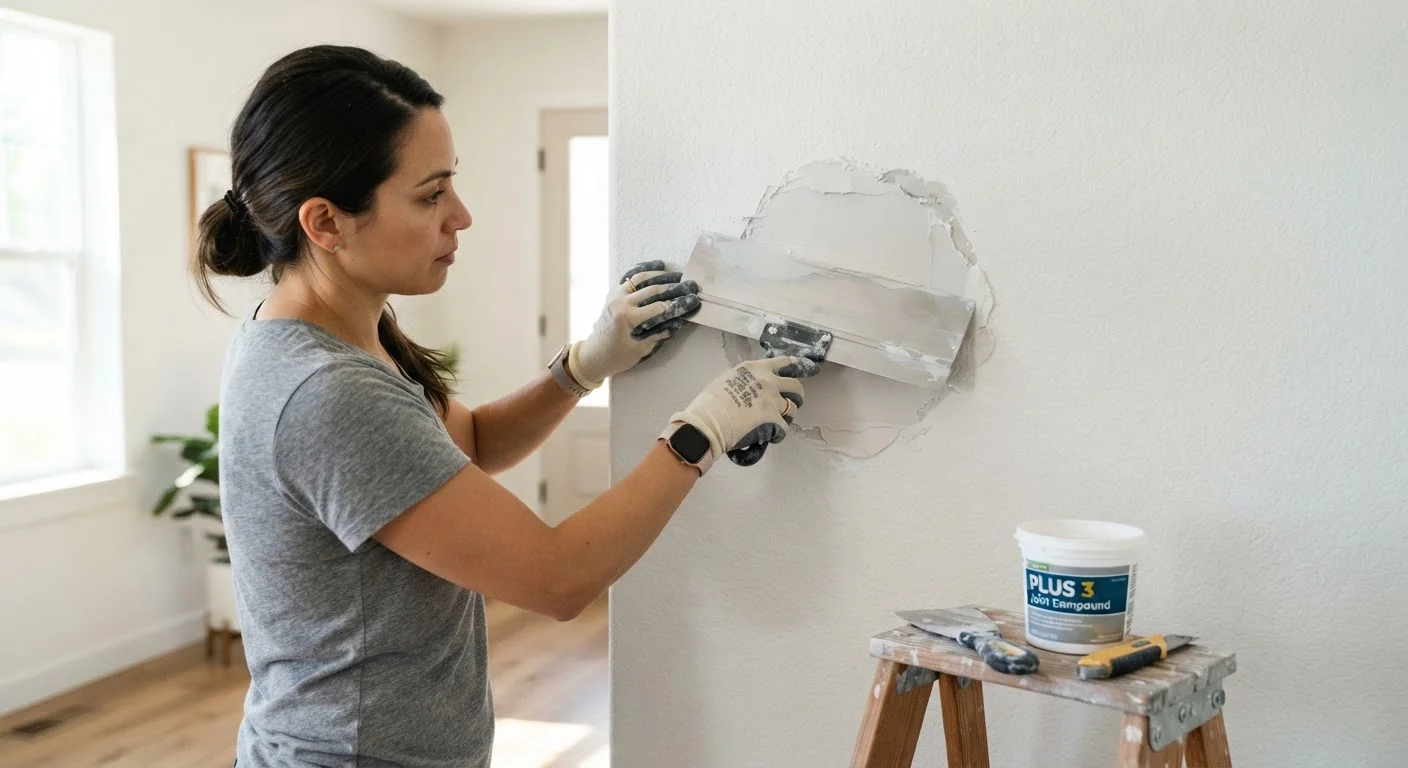
Understanding Drywall Damage Before You Start
Drywall — the panels of gypsum plaster sandwiched between paper layers that line most interior walls — is durable but not indestructible. Doorknob impacts, furniture scuffs, plumbing access, and simple settling over time all leave their mark. The good news is that drywall is designed to be repairable, and with the right materials and a little patience, most homeowners can achieve results that are genuinely hard to spot.
The key is matching your method to the damage. Using a full patch kit on a nail pop wastes time; trying to fill a fist-sized hole with spackle alone will fail. Understanding what you're dealing with upfront is what separates a clean, lasting repair from one that keeps cracking a few weeks later.
Check for Hazards Before You Cut
Before cutting into any wall, verify there are no electrical wires, plumbing pipes, or gas lines hidden behind the drywall. Use a stud finder with AC detection or consult your home's blueprints. For walls near electrical panels, kitchens, or bathrooms, exercise extra caution — or consult a licensed professional.
Before gathering materials, use the raking light test: hold a flashlight close to and parallel with the wall surface. Every bump, depression, and crack will cast a shadow, revealing the true extent of the damage. This step often surfaces additional small issues worth fixing all at once.
Tools and Materials You'll Need
For most standard drywall repairs, the materials list is short and inexpensive. Having everything ready before you begin prevents delays mid-repair, particularly since compound dries on your tools quickly.
Putty knife or drywall knife (4–6 inch)
Applies and smooths joint compound over small patches and nail pops.
Wide taping knife (10–12 inch)
Feathers joint compound outward over larger repairs for an invisible blend.
Self-adhesive mesh patch or drywall backer board
Provides structural support for medium to large holes before applying compound.
All-purpose joint compound (pre-mixed)
The primary material used to fill, coat, and finish drywall repairs.
120- and 220-grit sandpaper
Smooths each dried coat of compound; finer grit finishes the surface before priming.
PVA drywall primer
Seals the repaired area so paint absorbs evenly and hides the patch.
Stud finder with AC wire detection
Locates studs and identifies hidden wiring before cutting into the wall.
Texture spray or brush
Recreates existing wall texture over the patch so it blends with the surrounding surface.
What you will need
If you are unsure whether your repair involves anything beyond straightforward patching — for example, if you suspect water damage, mold, or structural issues behind the wall — review our guide on when to call a licensed tradesperson before proceeding.
Step-by-Step Repair Instructions
Work through the following steps in order. The most important discipline in drywall repair is patience — rushing the drying stages is the single most common reason patches fail or crack later.
Don't Skip the Drying Time
Applying a second coat of joint compound before the first is fully dry is one of the most common causes of cracked patches. Wait until the compound turns completely white and feels hard to the touch — typically 24 hours per coat depending on humidity and temperature.
Identify the damage type and choose your repair method
Drywall damage falls into three categories, each requiring a different fix:
- Nail pops and hairline cracks: Drive the popped nail slightly deeper with a hammer, add a drywall screw 2 inches above and below it, then apply two thin coats of compound over each point.
- Small holes (up to 4 inches): Use a self-adhesive mesh patch or a metal clip patch kit, then apply joint compound over the top.
- Large holes (over 4 inches): Cut the damaged section into a clean rectangle, attach a backer board or sister studs, cut a matching drywall piece, secure it, then tape and mud the seams.
Prepare the damaged area
Use a putty knife to remove any loose paper facing, crumbling gypsum, or peeling paint from around the damage. For larger holes, cut cleanly with a drywall saw to create straight edges — a jagged hole is much harder to patch neatly. Dust or vacuum the area so compound adheres properly.
Apply the patch or backer
For small holes, peel and stick a self-adhesive mesh patch directly over the opening, centring it so there is at least an inch of mesh on all sides. For larger repairs, secure a backer board — a strip of wood or drywall scrap — inside the wall using drywall screws, then attach your replacement drywall piece to it. Apply paper or mesh drywall tape over all seams, embedding it in a thin skim of joint compound.
Apply the first coat of joint compound
Using a 4–6 inch putty knife, spread a thin, even layer of pre-mixed all-purpose joint compound over the patch. For larger repairs, use a wider taping knife. Extend the compound slightly beyond the patch edges — about 2 inches on each side — and smooth it as flat as possible. Let this coat dry completely (typically 24 hours) before proceeding.
Sand, apply a second coat, and repeat
Once the first coat is bone dry, lightly sand with 120-grit sandpaper to knock down ridges and tool marks. Wipe away dust with a damp cloth. Apply a second coat, feathering the edges outward 4–6 inches from the patch to help it blend. Most repairs need two to three coats total. After the final coat, finish with 220-grit sandpaper for a silky-smooth surface.
Match the texture and prime before painting
If your walls have texture — orange peel, knockdown, or skip trowel — recreate it before priming. Practice the technique on cardboard first. Light orange peel texture can be replicated with a texture spray can; knockdown requires dabbing thinned compound with a sponge and lightly flattening the peaks. Once texture is dry, apply one coat of PVA drywall primer before painting to prevent 'flashing.'
[tip_callout]Getting a Finish That Blends Invisibly
Once your repair is primed and the primer is dry, paint the patched area with the same sheen and color as the surrounding wall. Whenever possible, paint from corner to corner rather than just over the patch — this blends the new paint into the existing finish and eliminates visible edges.
If your existing wall paint has aged or faded, a patch-only repaint may still be noticeable. In that case, repainting the entire wall panel between two corners is the most reliable way to achieve a seamless finish. Keep leftover paint for future touch-ups, stored in a cool, dry location with the lid firmly sealed.
With care and the right technique, most drywall repairs are entirely invisible once complete — saving a contractor call-out fee and giving you a skill you'll use again and again.
The content on this site is for informational purposes only and is not a substitute for professional advice. Always consult a qualified professional for guidance specific to your situation.