

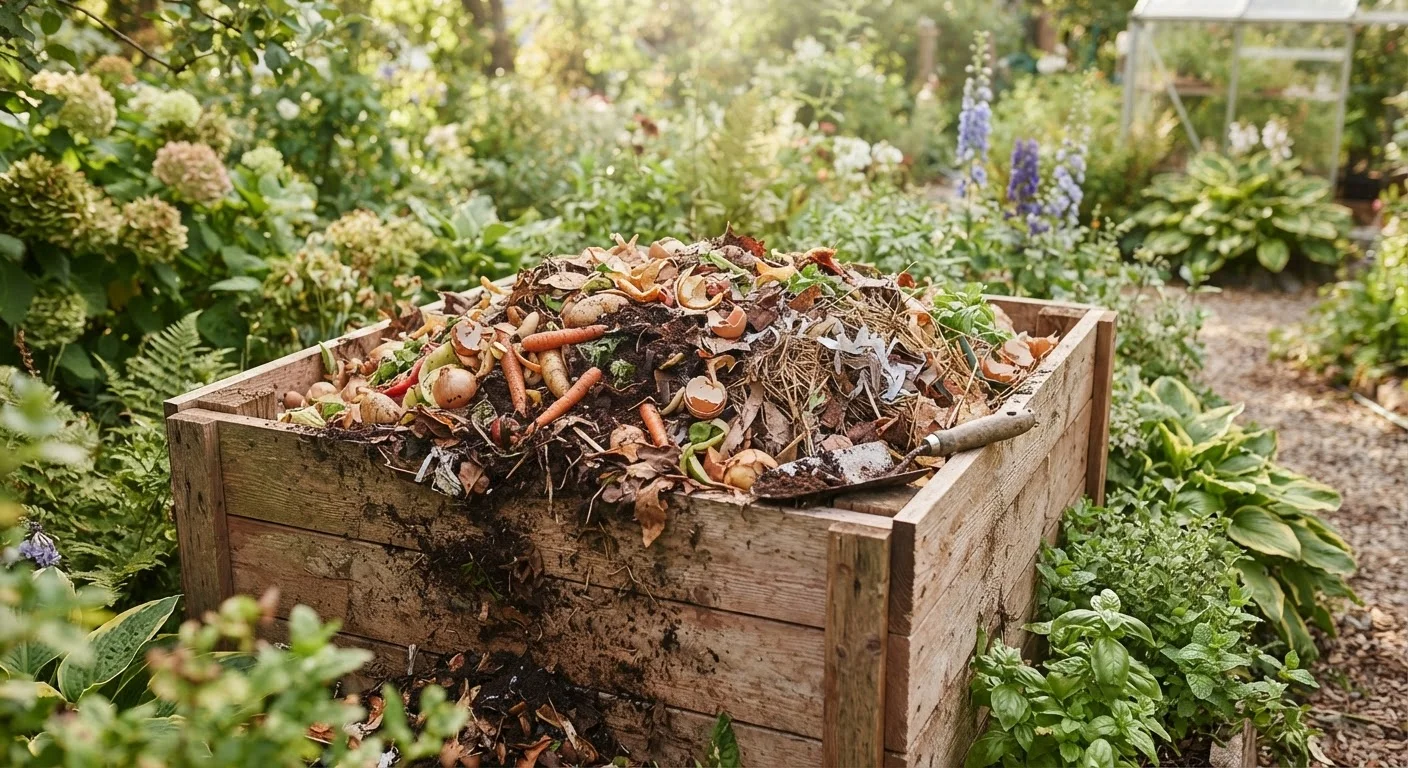
Why Composting Is Worth the Effort
Composting is one of the most impactful things a home gardener can do. Kitchen and yard waste that would otherwise go to landfill becomes a free, renewable soil amendment that feeds your plants without synthetic inputs. If you're working toward a productive garden, finishing your compost and adding it to your beds is a natural complement to the soil preparation steps outlined in our garden bed preparation checklist.
Finished compost also interacts with soil pH in subtle ways - loosely speaking, it tends to buffer extremes in either direction. To understand exactly how that works and why it matters for specific plants, see our guide to soil pH and how to adjust it. And if you're curious about how homemade compost stacks up against commercial fertilizers, our article on organic vs. synthetic fertilizers gives a clear-eyed comparison.
Never Compost These Materials
Avoid adding meat, fish, dairy products, oily foods, pet waste, or diseased plant material to your compost pile. These items can attract pests, introduce harmful pathogens, or create persistent odors. Treated wood, glossy paper, and plants sprayed with persistent pesticides should also stay out of the bin.
The process requires almost no financial investment - just consistency, a small amount of space, and the materials you're already generating.
What Goes In (and What Stays Out)
The table below summarizes common compostable and non-compostable materials to keep as a quick reference.
| Compost It | Keep It Out |
|---|---|
| Vegetable and fruit scraps | Meat, fish, and bones |
| Coffee grounds and paper filters | Dairy products |
| Dry leaves and straw | Oily or greasy foods |
| Grass clippings (in thin layers) | Pet or human waste |
| Shredded cardboard and newspaper | Diseased or pest-infested plants |
| Eggshells | Treated or painted wood |
A practical way to build the composting habit is to keep a small lidded container on the kitchen counter for daily scraps. Staying organized in the kitchen makes it easy to separate compostable material before it hits the trash - you can pair this habit with the broader strategies in our kitchen organization guide.
Watch for Anaerobic Odors
A compost pile that smells like ammonia is too nitrogen-heavy - add more brown material and turn it. A rotten-egg smell signals the pile is waterlogged and oxygen-starved. Turn the pile to introduce air and mix in dry carbon material such as straw or shredded cardboard.
Step-by-Step: Building and Maintaining Your Compost Pile
Follow the steps below in order. The first setup takes about 30-60 minutes; after that, ongoing maintenance is typically 10-15 minutes per week.
What you will need
Compost bin or designated pile area
Contains materials, retains moisture and heat, and keeps pests out.
Garden fork or compost turner
Used to aerate and turn the pile to introduce oxygen and speed decomposition.
Small kitchen collection container
Collects daily food scraps on the counter before transferring them to the outdoor bin.
Thermometer (compost or probe type)
Monitors internal pile temperature to confirm active decomposition is occurring.
Garden hose or watering can
Maintains the pile's moisture level - aim for the consistency of a wrung-out sponge.
Choose and Set Up Your Composting System
Select a spot that is convenient to your kitchen door and garden beds, receives partial shade, and has good drainage. You can use a purchased plastic bin, build a simple three-sided wooden enclosure from pallets, or simply designate a contained pile in a corner of the yard. A minimum volume of roughly one cubic yard (3 × 3 × 3 feet) generates enough heat for efficient decomposition.
Understand the Browns-to-Greens Ratio
Composting relies on a balance between carbon-rich materials (called "browns") and nitrogen-rich materials (called "greens"). A general guideline is roughly 3 parts browns to 1 part greens by volume. Browns include dry leaves, straw, cardboard, shredded newspaper, and wood chips. Greens include vegetable and fruit scraps, coffee grounds, grass clippings, and fresh garden trimmings. Getting this ratio approximately right prevents the pile from becoming either slimy or too slow to break down.
Layer Your Materials
Start with a 4-6 inch base layer of coarse browns - wood chips or twigs work well - to promote airflow at the bottom. Alternate layers of greens and browns, adding new kitchen scraps in the middle of the pile rather than on top to deter pests. Bury food scraps under at least a few inches of brown material each time you add them.
Maintain Moisture and Aeration
The pile should feel as damp as a wrung-out sponge - moist throughout but not dripping. During dry weather, water lightly with a garden hose. In very wet weather, cover the pile with a tarp or lid to prevent saturation. Turn the pile with a garden fork every one to two weeks, pulling material from the outside edges into the center. This introduces oxygen, which fuels the aerobic bacteria responsible for decomposition.
Monitor Temperature for Active Decomposition
An actively decomposing pile will heat up noticeably in its center - typically reaching 130-160°F (55-70°C). This heat is generated by microbial activity and also kills weed seeds and some pathogens. If you have a compost thermometer, check the core temperature. If the pile feels cold and inactive, add more nitrogen-rich greens and turn it to reinvigorate the process.
Recognize and Harvest Finished Compost
Finished compost looks dark brown or black, smells earthy (similar to forest soil), and has a crumbly, uniform texture. You should not be able to identify the original materials. Depending on conditions and how often you turn it, this can take anywhere from two months to a year. Harvest by shoveling finished material from the bottom or sides of the pile. Any unfinished chunks can go back into the active pile.
Apply Compost to Your Garden
Work finished compost into garden beds as a soil amendment before planting, or apply a 1-2 inch top dressing around established plants. Compost improves clay soils by loosening them and improves sandy soils by helping them retain water and nutrients. It also supports the microbial life that keeps soil biologically active. For container gardens, blend compost into your potting mix at roughly a 20-30% ratio by volume.
Speed Up Decomposition Naturally
Chop or shred materials into smaller pieces before adding them - smaller surface areas break down faster. Adding a thin layer of finished compost or garden soil between new additions inoculates the pile with beneficial microorganisms, noticeably accelerating the process.
Once you have a regular composting routine in place, you'll find the habit becomes second nature - especially as you start seeing real improvements in your soil. Gardeners working with containers and raised beds will particularly benefit; for more on that context, see our guide to container gardening on balconies and patios.
The content on this site is for informational purposes only and is not a substitute for professional advice. Always consult a qualified professional for guidance specific to your situation.